Muesli Bliss Bars

wpid-20140408_150049.jpg

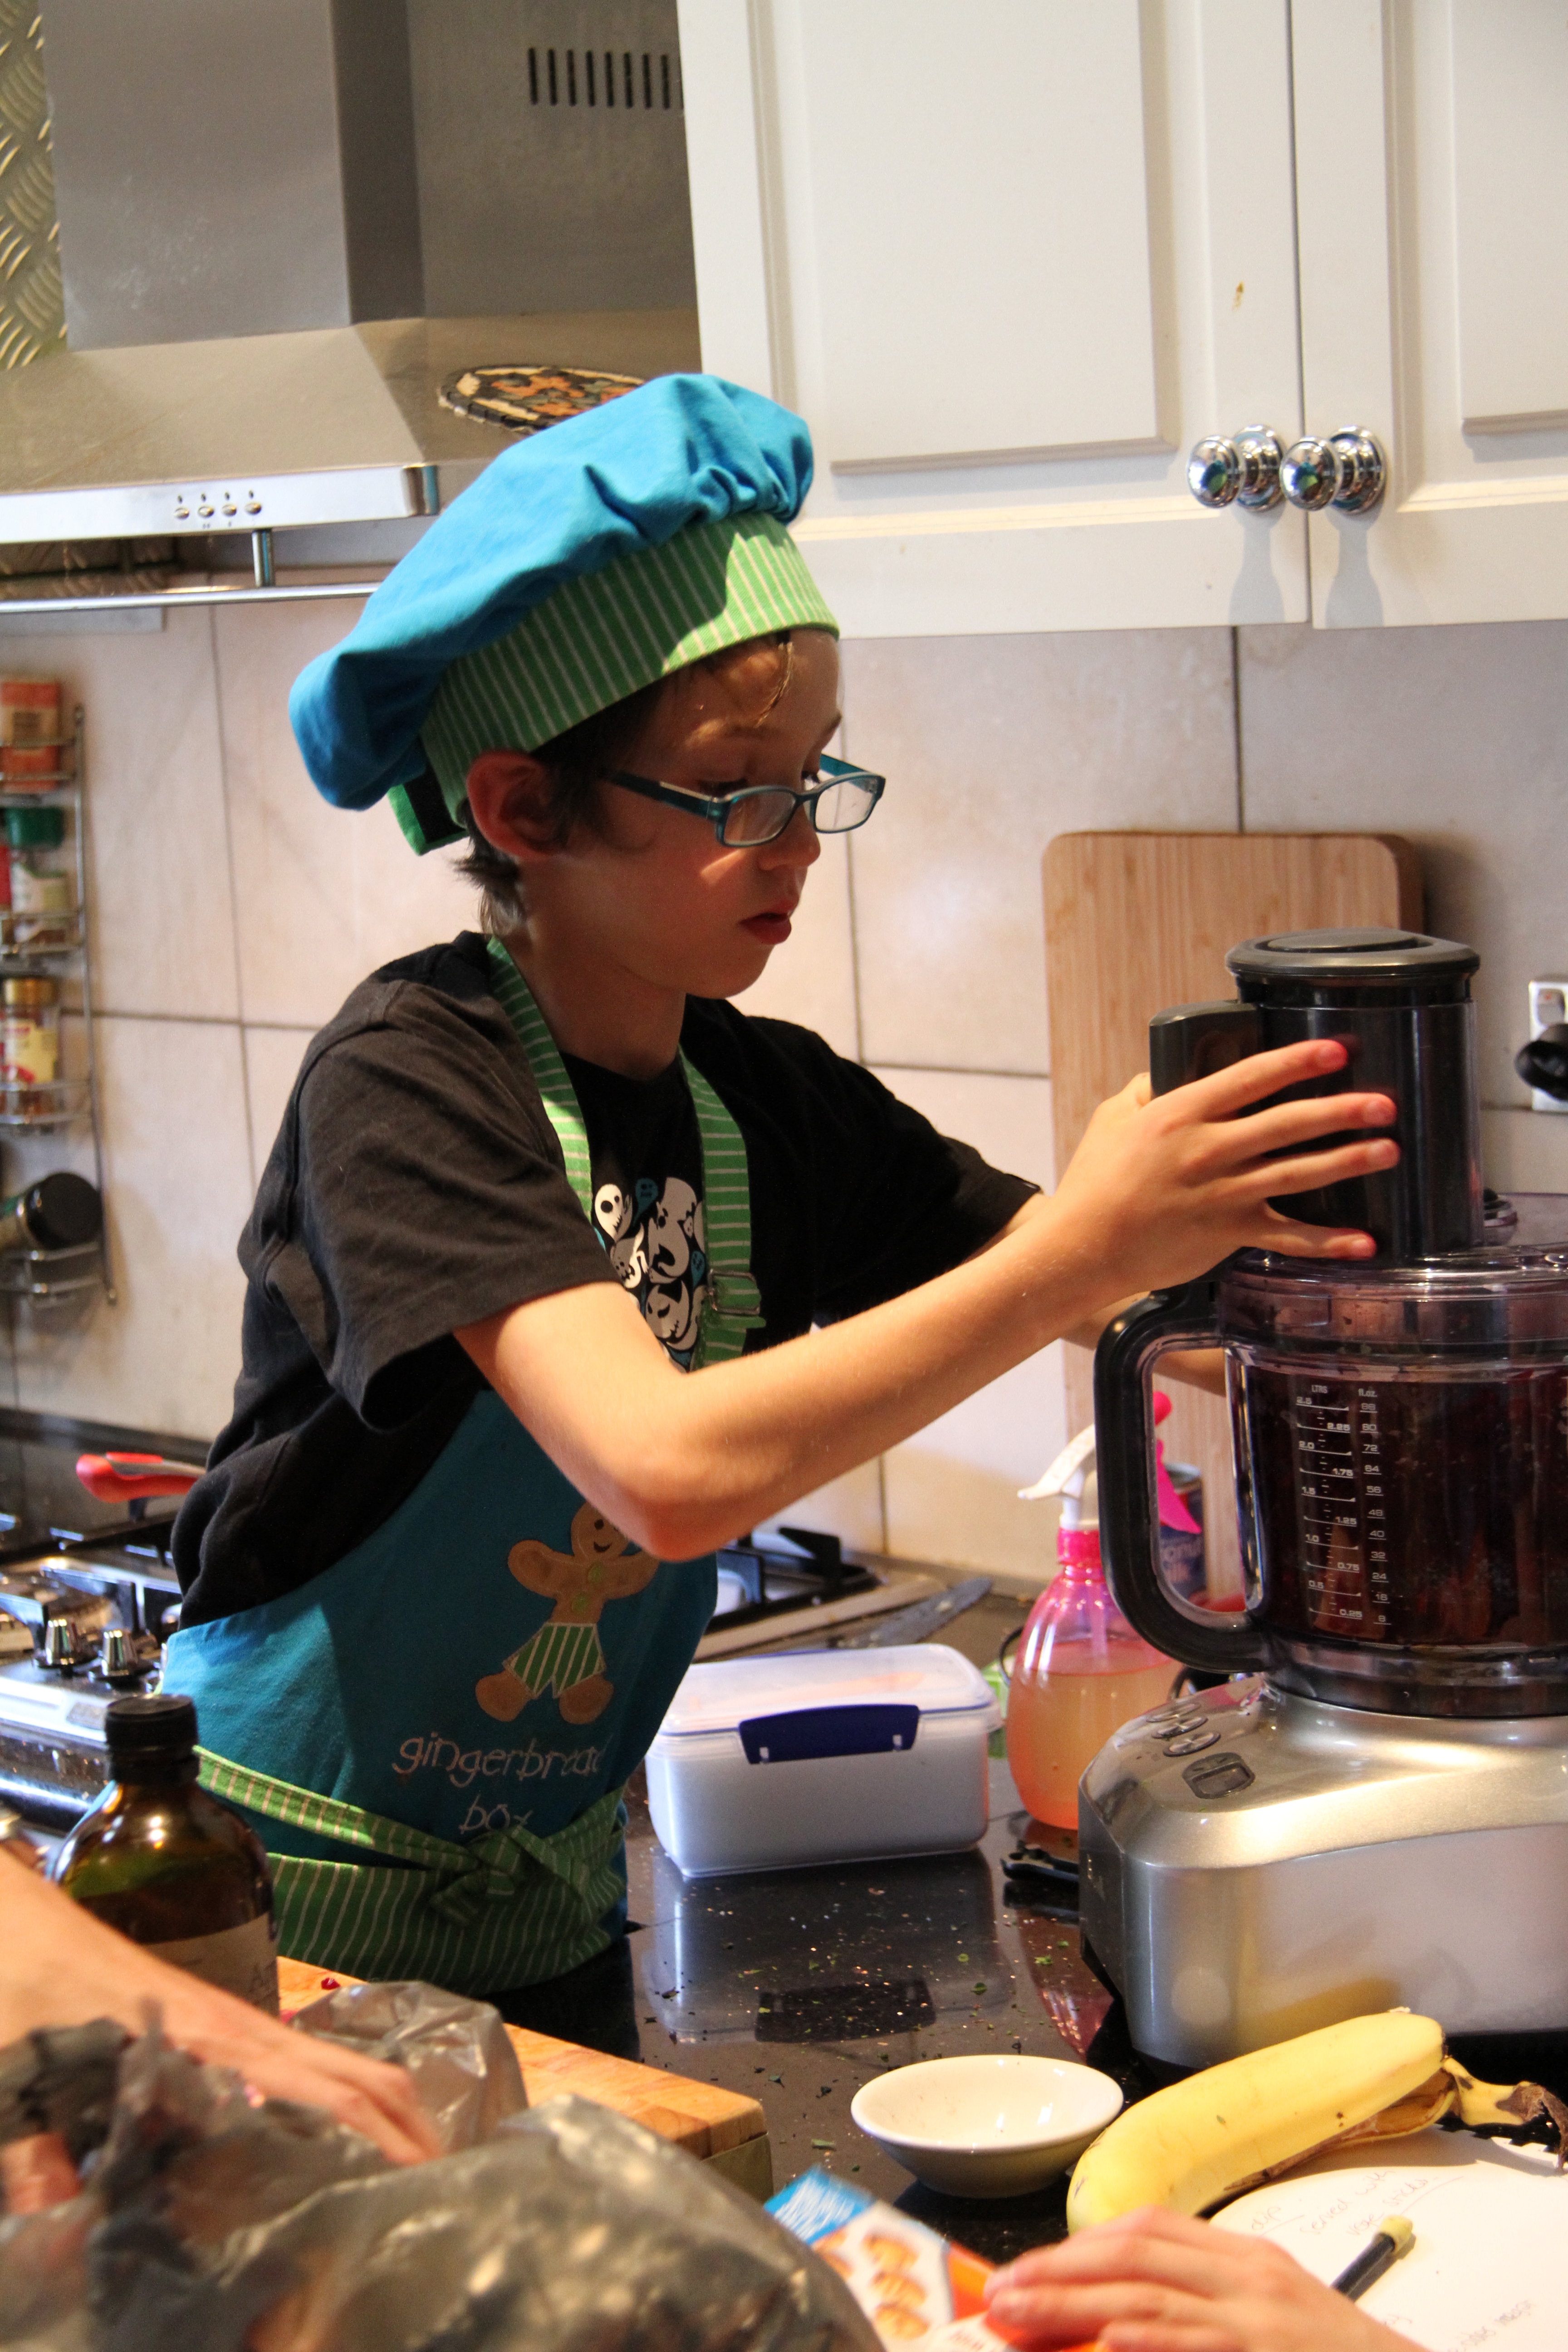
It’s been so long since I posted anything! Life has been chaotic but I have found a few spare minutes to share this delicious recipe.

It’s great for school lunchboxes as it has no nuts, just seeds in it, but you could use nuts if you like. Simply substitute the seeds for your favourite nut/s…macadamias would be divine! If you wanted to make it taste a little naughty or more appetising for the kids, add a couple of tablespoons of cocoa powder….*drool*…but I have a child who goes berserk on cocoa so I cannot do that 😦 As for the dried fruit, anything would work, we just happen to REALLY like dates, organic apricots and cranberries.

1 cup (about 160g) of dried pitted dates

1 cup (about 160g) of dried apricots (preferably organic)

150g of dried cranberries

1/2 cup of pepitas

1/2 cup of sunflower seeds

1/4 cup of sesame seeds

1 cup of desiccated, preservative free coconut (if using shredded coconut, blitz in food processor for a bit)

1 cup of puffed millet

1 cup of puffed quinoa

1/4 tsp of vanilla powder (if using extract or paste, use a full teaspoon)

1 tsp of cinnamon

110g of coconut oil

140g of honey

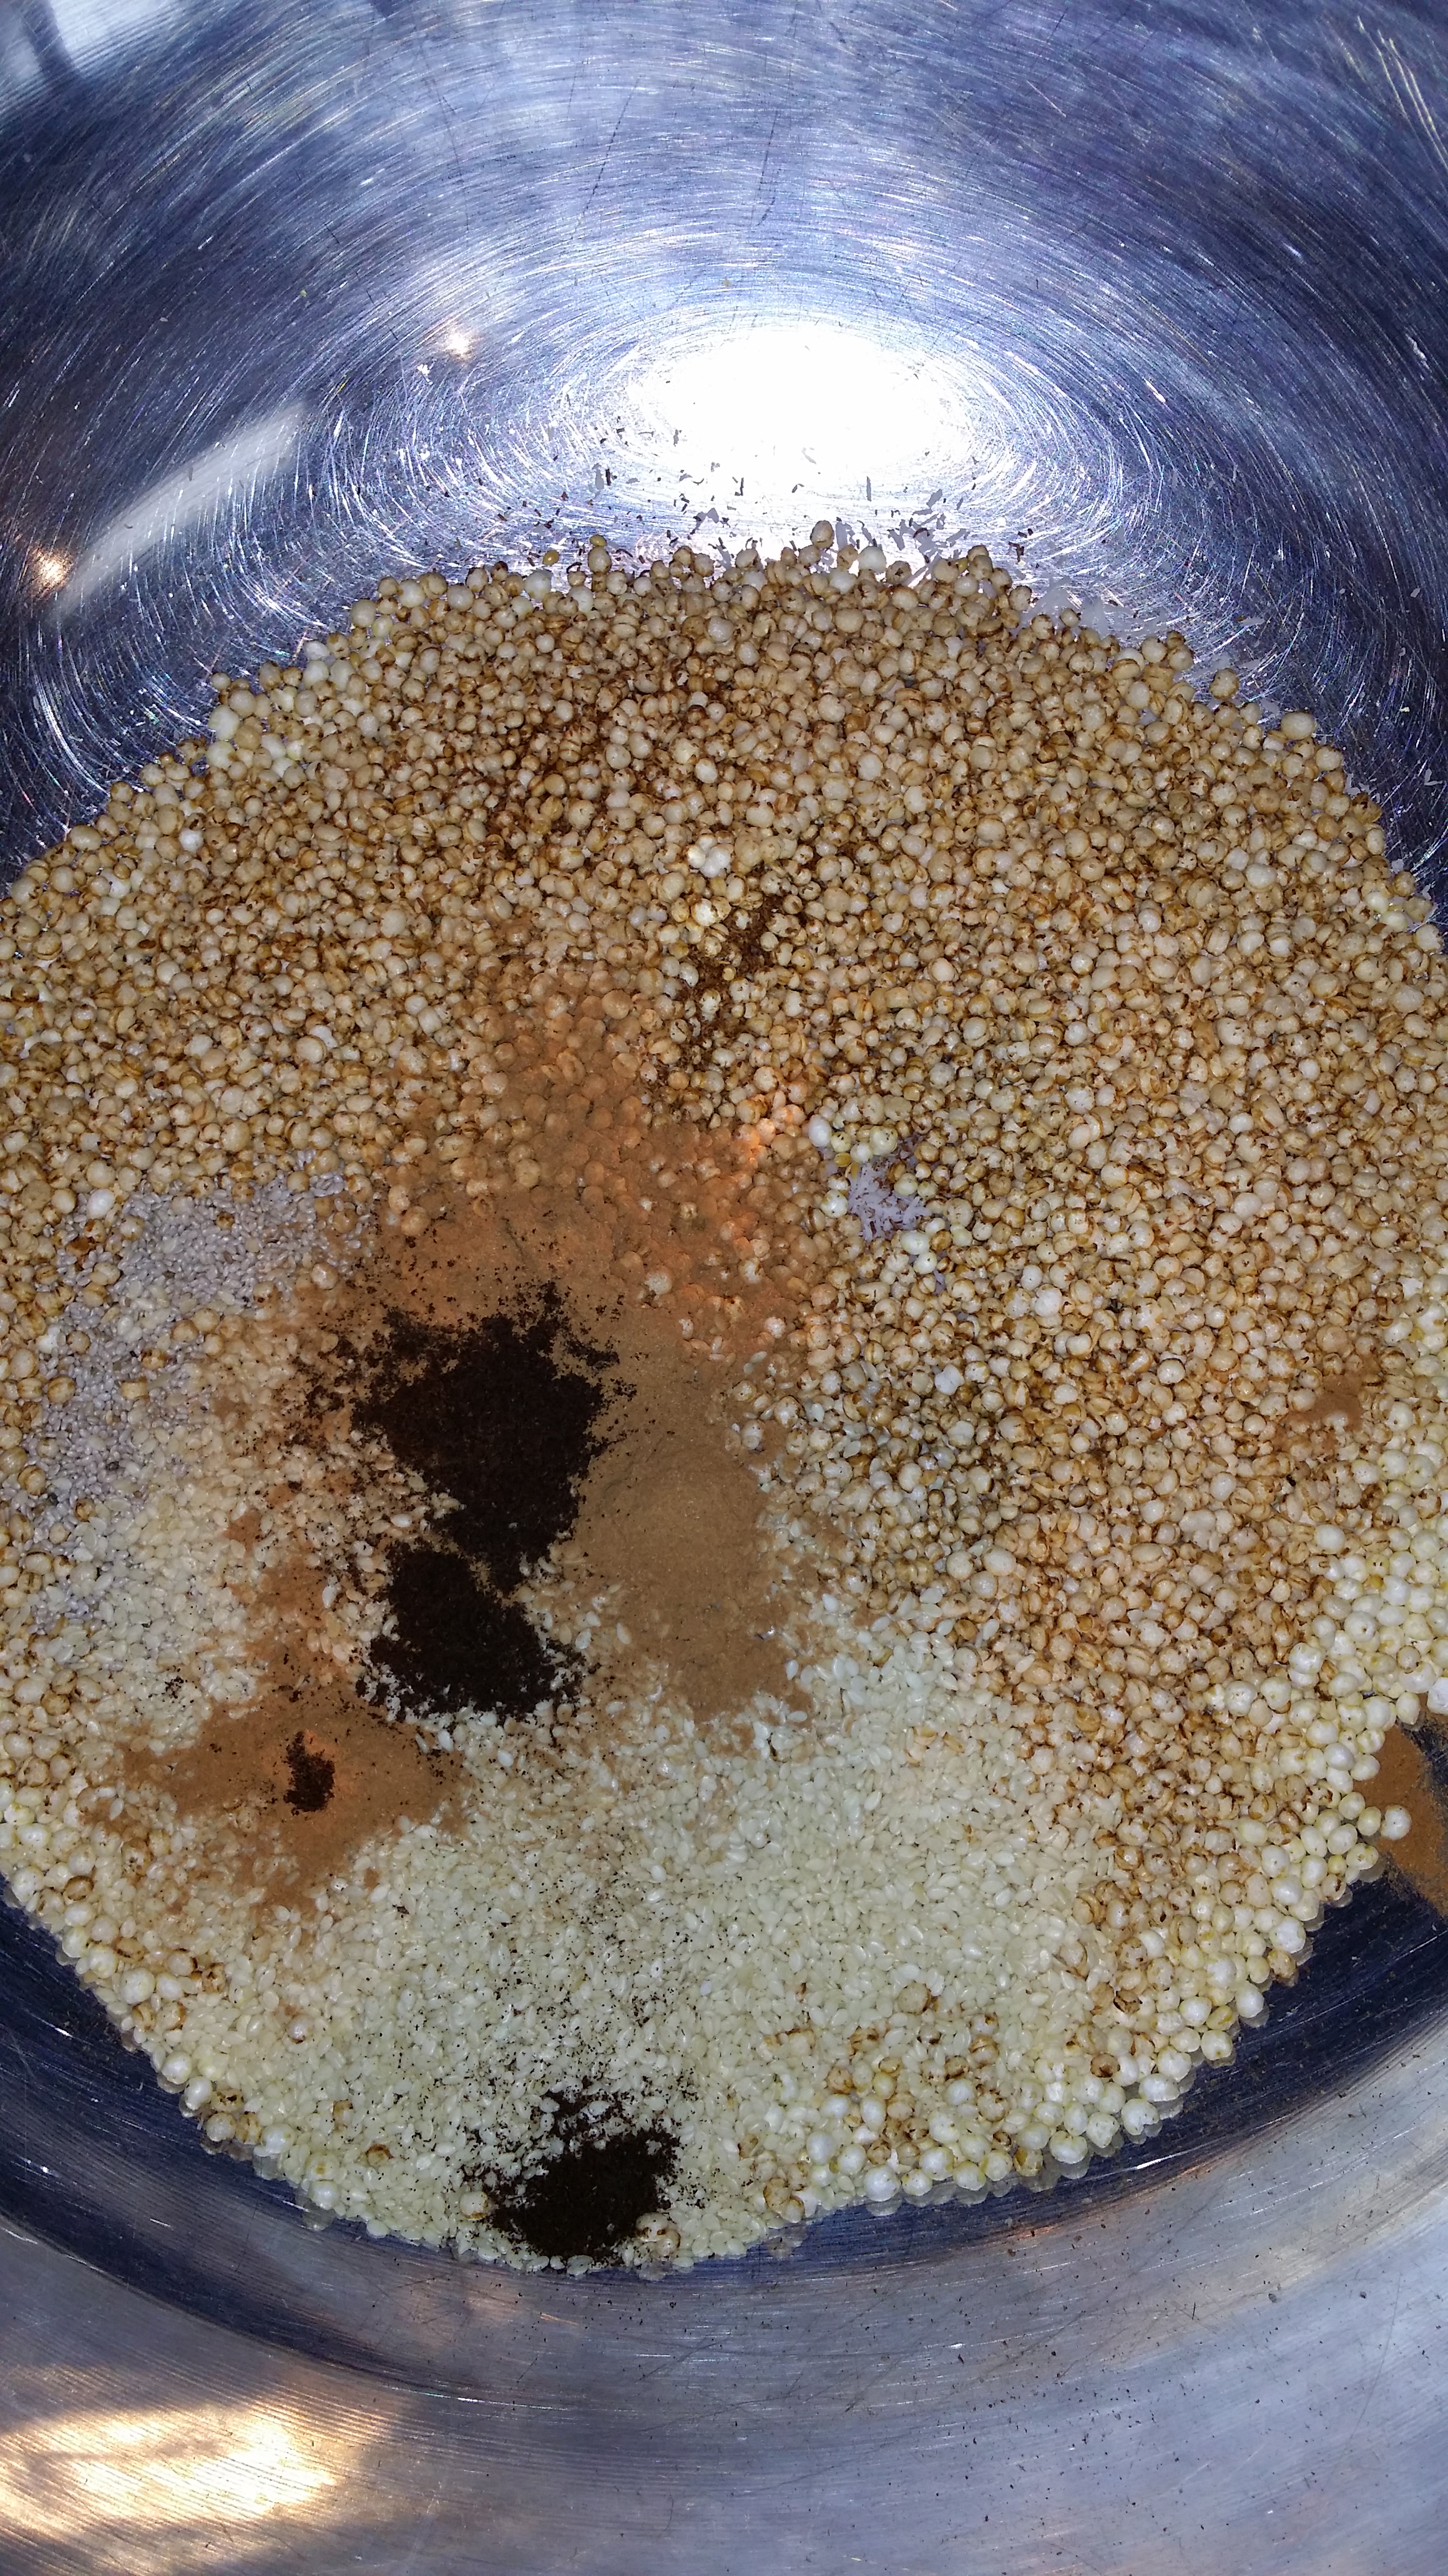
  • Blitz the dried fruit with the pepitas and sunflower seeds until well chopped.

wpid-20140408_144114.jpg

  • Mix remaining dry ingredients in a large bowl then, using your hands, mix through the fruit blend as best you can (without being too fussy).

wpid-20140408_143332.jpg

  • In a small saucepan, bring the honey and coconut oil to the boil then boil for 2 minutes.

wpid-20140408_145211.jpg

  • Add the hot honey mix to the muesli mix and stir until well combined, breaking any large clumps up with the back of the spoon.

wpid-20140408_145638.jpg

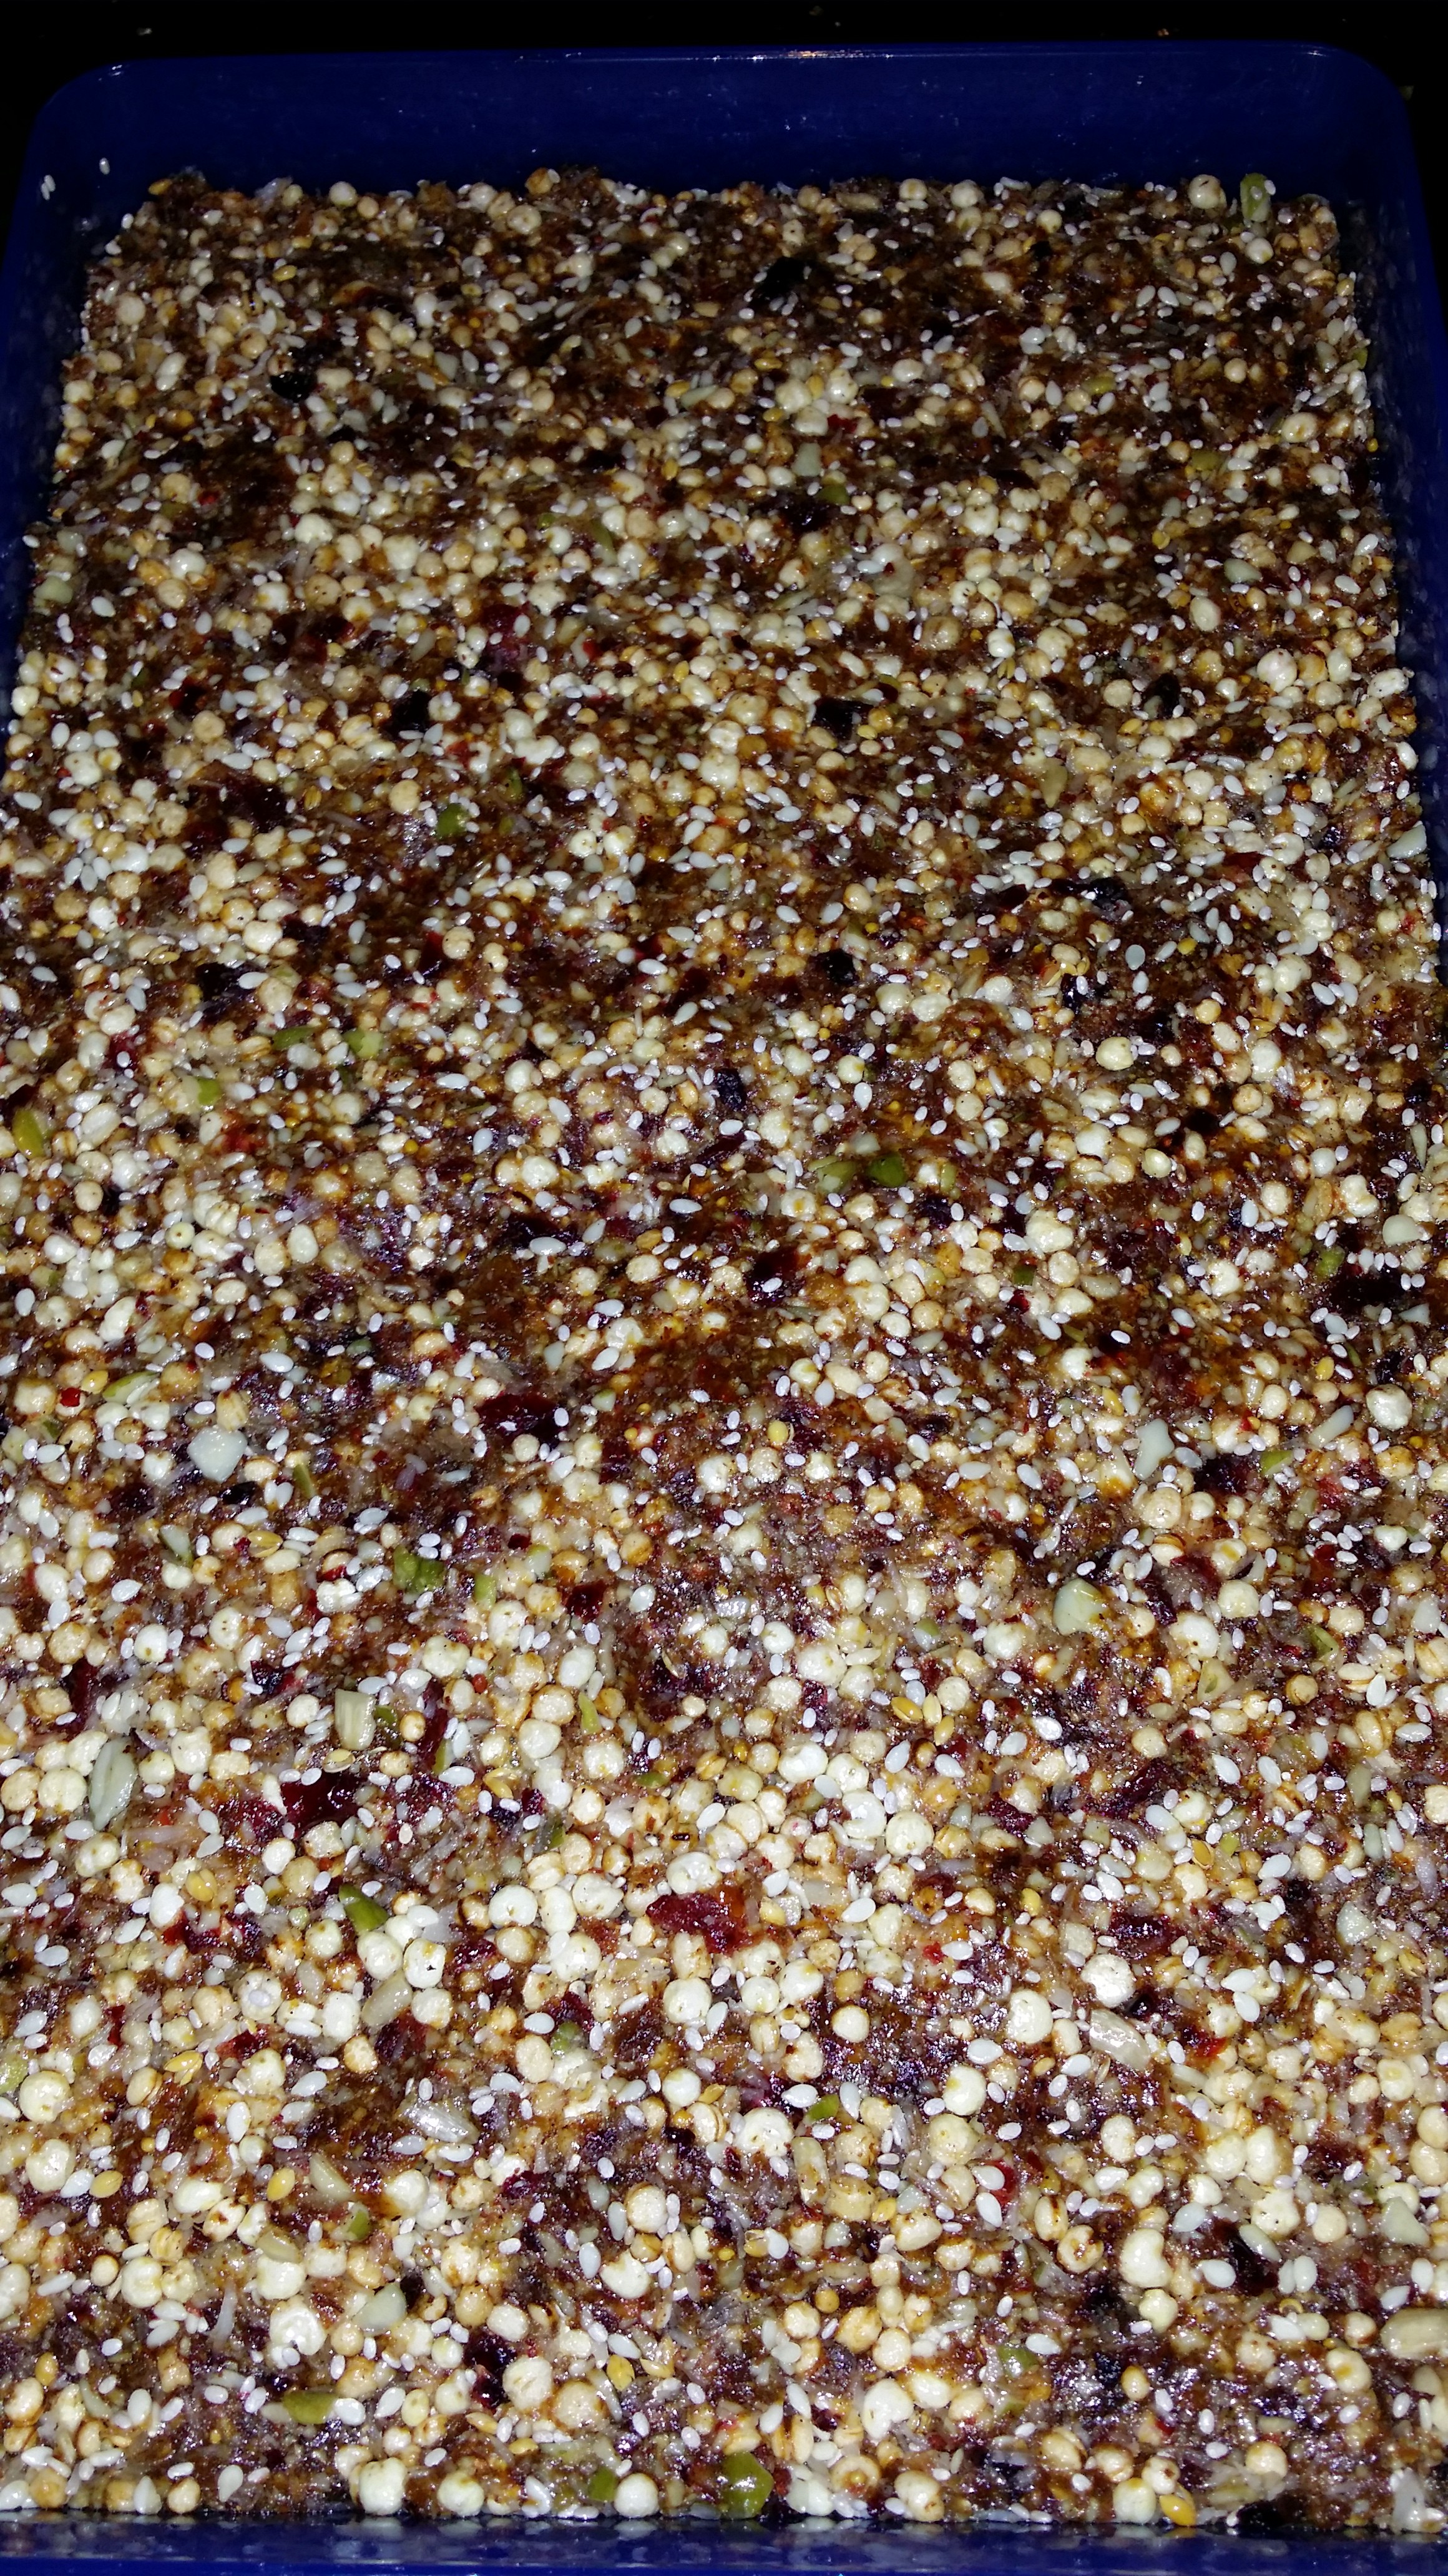
  • Using wet hands, press the mix very firmly into a rectangular dish. I use one that is 17 x 28cm.
  • Pop in the fridge to set before cutting into desired slices.

NB: if you don’t press it firmly enough into the tin/container, it is incredibly crumbly and difficult to eat 🙂

I find in the warm weather, this is best stored in the fridge but in cooler weather, the pantry works fine.

Herbaceous Potato Salad

IMG_7035

We all love a good potato salad and there are SO many different ways to make them. In fact I myself have numerous different ones I make, depending on my mood and the ingredients at hand, but this is definitely a family fave and the one I make most often.

About 8 large potatoes

6 hard boiled eggs (or semi hard which is how I prefer them), peeled and roughly diced

1/4 cup of finely chopped fresh mint

1/4 cup of finely chopped fresh parsley

1/2 cup of spring onion greens, finely chopped

Mayonnaise (or tartare sauce) to taste

salt and pepper to taste

  • Chop up the potatoes into bite sized pieces and boil in salted water until just tender then drain and allow to cool slightly.
  • Stir the spring onions and herbs through the warm potatoes and allow to cool.
  • Add the eggs and mayonnaise and mix well.
  • Season to taste

Tartare Sauce…from scratch

IMG_7052

It’s summer and it’s very nearly Christmas. We all know what that means in Australia…SEAFOOD TIME!!! And you can’t have a decent seafood feast without tartare sauce, right? Mmmmm, tartare sauce with calamari *drool*….or prawns *swoon*…or even crayfish *drool, swoon, gasp*.

Over the years, I have always had tartare sauce in my fridge but of more recent times, I have not, because I have been unable to find any that is dairy and additive free. Yes, dairy in tartare sauce…sacreligeous I know. In fact, dairy in any mayonnaise is just WRONG! So here you go, now you can make your own…and if you want plain mayonnaise, simply leave out the capers and gherkins. Of course, make sure your ingredients (ie capers and gherkins) are additive free before you start 😉 Oh, and this tartare is yumtious in potato salad too….

I have a fancy attachment for my food processor that is designed specifically for making mayonnaise and other sauces but before I had this whiz bang thing, I just used the regular blade attachment.

2 whole eggs

1 cup of oil (preferably a neutral flavoured oil like rice bran)

1 tsp of mustard powder

1 tsp of salt (or to taste)

pepper to taste

2 tbsp of lemon juice

1 tbsp of maple syrup (or other sweetener if you prefer)

3 tsp of chopped capers (I prefer the ones in vinegar)

4 gherkins finely diced

  • Crack the eggs into the food processor and whiz until well beaten.
  • Slowly drizzle the oil in in a slow stream, whizzing constantly until thick and pale.
  • Add the mustard, salt, pepper, lemon juice and maple syrup and blitz until well combined.
  • Remove from processor and stir through the capers and gherkins.
  • Taste and adjust seasoning if needed.

Yes, it’s really that simple 🙂

IMG_7040

Apricot and Coconut Yum Balls

IMG_6863

My oven is on its way out which is a really terrible thing when you cook as much as I do. We’re looking at demolishing and rebuilding in a couple of years so it seems like such a waste to replace this oven when what will fit here in the existing cavity is MUCH smaller than what I plan on having in my shiny new kitchen…so I am trying to prolong the life of this old beast by minimising its use. As a result, I have been busy conjuring up no-bake, healthy treats for my boys. As a result, I have been going mad making “balls”. These apricot ones are my 2 year old’s favourite…he even prefers them to the chocolate ones I make. They’re also perfect as little Chrissy treats.

500g of preservative free dried apricots

1 cup of shredded coconut

1 cup of sunflower seeds (or whatever nut or seed you like)

Coconut flour for rolling in (optional)

  • Place sunflower seeds and coconut in food processor and whiz until well chopped.
  • With processor still running, feed the apricots in and blitz until finely chopped and well combined

IMG_6850

  • Roll into walnut sized balls  and roll in coconut flour if you wish

IMG_6860


Festive Saffron and Vanilla Chicken Stuffing

IMG_7058

These days, every Christmas is at mum’s. She LOVES it! We don’t have to worry about that whole rushing from here to there to see both sides of the family because my partner is Jewish, which makes for a nice relaxing day. Every year, I roast a couple of chooks and make a few other bits and pieces to help mum out with catering. The previous 2 Christmases we were riding the Failsafe train so I had to make sure that my boys had plenty of festive fare to indulge in…but last year, we had a few late additions to the Chrissy table which meant that my 2 chickens wouldn’t be enough and it was too late for me to organise another bird or 2…so I stuffed them.

Now this posed a challenge…I had never made stuffing before, let alone a Failsafe one. I donned my very fetching thinking cap (it’s more like a helmet these days) and eventually came up with something that turned out to be a raging success with all guests…so much so that even though we are no longer Failsafe, I have been requested to stuff this year’s birds with the same stuffing. But alas, I have to make some changes as I have recently discovered that I am in fact fructose intolerant (fructose malabsorption) and now follow a low FODMAP diet…aha, yet another culinary challenge….

So here it is….enough for about 4 large chooks, lol

1 kg of chicken mince (I use thigh mince as it is much more moist)

2 leeks, sliced

8 cloves of garlic, crushed

a little oil for sauteeing

1 tsp of saffron

2 tsp of salt

1 tsp vanilla (I use vanilla powder but vanilla paste or extract would be fine)

1/2 cup of whisky

1 cup of chopped raw cashews

1/2 cup of rice crumbs

  • Heat the oil in a pan and sweat the leek and garlic over a low heat for about 10 minutes or until tender.
  • Grind together the salt and saffron, in a mortar and pestle, to form a powder.
  • Add the saffron salt and vanilla to the leeks and turn up the heat.
  • Stir in the whisky and cook for 3-5 minutes until evaporated.
  • Allow to cool
  • Place the mince into a large mixing bowl and add the cooled leeks, rice crumbs and cashews. Mix thoroughly.
  • Pack firmly into the cavity of the chickens. (I also rub in oil and sprinkle a little extra saffron salt on the skin of the chicken before roasting)
  • Any leftovers can be formed into a loaf, wrapped in foil and baked at 180°C until cooked through.

Choccy Bliss Balls

IMG_7024

Christmas is on our doorstep so it’s time to get busy in the kitchen, preparing little treats for Christmas parties, gifts, Christmas lunch, or just for the sake of it regardless of the season. For some of us, this can pose quite a challenge…a lot of schools are nut free zones, some of us are dairy intolerant, some gluten intolerant and a lot of us these days like to avoid sugar whilst still enjoying a sweet, delicious treat without toxic substitutes. Here is the perfect thing…a nut free, dairy free, gluten free, sugar free chocolate ball that is perfect for young and old, but best of all, it requires no cooking and takes very little time and effort, perfect for our hot festive season here in Australia.

These little beauties are very easily adaptable for those who cannot have cocoa. I have to make 2 separate batches for my house because one of us goes berserk on cocoa…no, it’s not me 😉 I’ll put the substitute and addition in brackets.

500g of dried dates

1 cup of shredded organic  coconut

1 cup of sunflower seeds (you could use any nut or seed you like…macadamias, pepitas, hazelnuts)

6 tbsp of pure cocoa (5 tbsp of carob powder and 2 tbsp of honey or rice malt syrup)

  • Place coconut and seeds in the food processor and blitz until it resembles crumbs.
  • Whilst the processor is still whizzing, slowly add the dates (I found that adding them when the processor was stopped, they got stuck to the blades and the blade wouldn’t spin, nearly burning out the motor) and blitz until well chopped.
  • Add the cocoa (or carob and honey) and blitz until well combined.
  • Roll into balls of whatever size you like then store in the fridge or pantry in an airtight container.

Gluten free, low FODMAP carrot cake

IMG_6893

I went to the doctor because I have been feeling rather crap lately….lethargic, sluggish, foggy, tired, achy, bloated…you get the drift. I can’t believe with all that I know about food intolerance that it never occurred to me….fructose malabsorption!! Well it’s not confirmed but suspected so it’s low FODMAPs for me to see how I go. Sheesh! That’s a lot to think about in the kitchen now…a lot more than I already had to think about. It’s ok though, I’m up for the challenge…I think.

So now I need to make even more snacks from scratch. Everything I have been making for the kids is now unsuitable for me and I’m determined not to slip up and allow my hunger to get the better of me and force me into eating something that I should not. I purchased myself an app, the Monash University Low FODMAP Diet app,  so I would know what I can and can’t eat wherever I may be…no excuses. It’s great, it even has recipes…not that I can follow a recipe of course, but they’re certainly a good starting point for me as, at the very least, a little inspiration. So here is my “rendition” of their carrot cake….it’s super yummy!

600g of grated carrot

5 eggs

150g of coconut sugar

100g castor sugar

2 tbsp of oil (vegetable, melted coconut, rice bran, whatever you like)

400g gluten free plain flour

1 tsp bi-carb soda

1 tsp of gluten free baking powder

1 1/2 tsp of ground cinnamon

1 tsp of grated nutmeg

1 cup of almond milk (or whatever milk you use)

  • Pre heat oven to 160°C and grease a large loaf tin.
  • Beat the eggs and sugars until pale and fluffy.
  • Add the oil and beat a further minute or so.
  • Sift the dry ingredients together then add to the egg mix, along with the milk, and fold through until well combined.
  • Add the carrot and mix well.
  • Pour batter into prepared tin and bake for about 1 hour and 20 minutes or until a skewer comes out clean when inserted into the middle.
  • Remove from tin and allow to cool on a wire rack.


“Caramelised” Orange Sorbet

Mmmmm, oranges. “Not-hubby” bought a big bag of them a couple of weeks ago and there was no way we were ever going to get through that many before they died a gruesome death…so I juiced them and made sorbet. Not just any sorbet though, sorbet sweetened with coconut palm sugar instead of regular cane sugar.

I made a conscious decision a while back to cut processed cane sugar out of our diets so now I sweeten everything with honey, rice malt syrup, maple syrup or coconut palm sugar. For most things things I use honey but Not-hubby hates the stuff so since the orange sorbet was made with him in mind and my pantry was bare of rice malt syrup…oh and the price of maple syrup!….I chose to experiment with coconut palm sugar. Oh, my, goodness, it was a taste sensation…and talk about refreshing!!! A deeply flavoured sorbet with a real caramelly edge that doesn’t leave your mouth with that cloying aftertaste. I am in love!!! Next time I might just add a splash of vodka or Grand Marnier…and keep it away from the kids 😉

If you have an icecream maker then this is super simple. If you don’t have one, I suggest you go and get one 😉 About $30 to $40 will get you a simple contraption that is perfect to get you started on your frozen dessert making journey…then you’ll fall head over heals and opt for a bigger, more expensive but well worth the investment,whiz bang machine that has its own compressor, all the bells and whistles and can churn several batches in one day…a rainbow of flavours for your freezer.

Now of course, any sorbet is best made with freshly squeezed juice but good quality bottled stuff would work. Once you’ve fallen in love with making your own sorbet, not only will you want a top shelf icecream maker, you’ll be adding a juicer to your Christmas list…I did, haha.

So, without further delay………

Ingredients

3/4 cup of water

3/4 cup of coconut palm sugar

2 1/2 cups of orange juice

Combine the coconut sugar and water in a small saucepan. Over a low heat, stir until the sugar has dissolved then increase the heat, bring to the boil and simmer for about 2 to 3 minutes. Allow to cool.

Mix the sugar syrup with the juice and if using an icecream machine with no compressor, chill in the fridge for an hour or so.

Pour mixture into icecream maker and either set to desired setting or churn until it reaches the desired sonsistency. Store in the freezer for a couple of weeks.

The sorbet will harden somewhat in the freezer so is ideal straight from the icecream maker but it is still incredible…you just need to scrape a little harder 🙂

IMG_6845


Griff’s Meatballs

IMG_6804

These meatballs took a little while to prepare but they turned out good. When my mum makes meatballs she uses a knife to cut everything up but I used the food processor so it’s easier for kids. I served my meatballs with a nice salad and they’re really nice with Griff’s Beet Dip. They’re really good for school lunches. You can make them up and freeze them.

1.5kg of lamb mince

1 large onion roughly chopped

3 cloves of garlic

4 tbsp of fresh herbs. I used oregano, thyme and rosemary.

1 egg

1/2 cup of coconut flour

2 tsp of salt

1/2 tsp of pepper

3 tbsp of fresh parsley finely chopped…get an adult to chop it for you

1 tbsp of oil

  • Heat oven to 180°C.
  • Place onion, garlic and mixed herbs in the food processor and whiz until finely chopped.
  • Heat the oil in a fry pan over medium heat and sautee the onion mix for about 5 minutes.

IMG_6760

  • Place mince in a large mixing bowl and add all the ingredients.

IMG_6763

  • Using clean hands, mix well until all ingredients are mixed in.

IMG_6775

  • Roll into golf ball size balls and place on lined baking trays.

IMG_6774

  • Cook for about 30 minutes or  until cooked through (get an adult to do that for you).

IMG_6806


Griff’s Beet Dip

IMG_6802

I love beetroot! I love it so much that I also grow it in the garden. Beetroot dip is one of my favourites so mum helped me to come  up with this recipe. It’s really yum. I served it with veggie sticks…celery, carrot and capsicum…but you can serve it with crackers, chips or as a sauce with food.

4 large beetroots

6 cloves of garlic

1/4 cup of extra virgin olive oil

2 tbsp of fresh thyme

2 tbsp of fresh parsley finely chopped

1/2 tsp of salt (or to taste)

1/4 cup of apple cider vinegar

pepper to taste

  • Heat the oven to 180°C. Wrap the beetroots up in foil and place them on an oven tray with the garlic. Cook for about 45 minutes or until tender when poked with a knife. Remove from oven and allow to cool.
  • Peel the beets and garlic, roughly chop and put in processor.
  • Add all other ingredients and whiz until it’s just tiny chunks.

It’s that simple!

Me whizzing up the beetroot dip

Me whizzing up the beetroot dip